
DIY – Make Your Own Snowflakes!
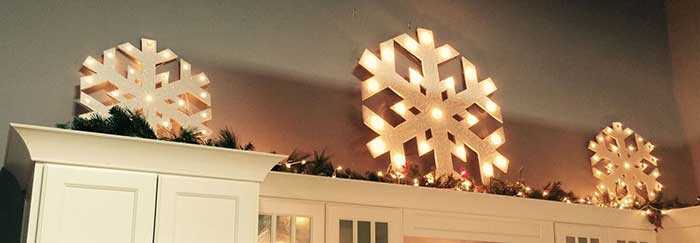
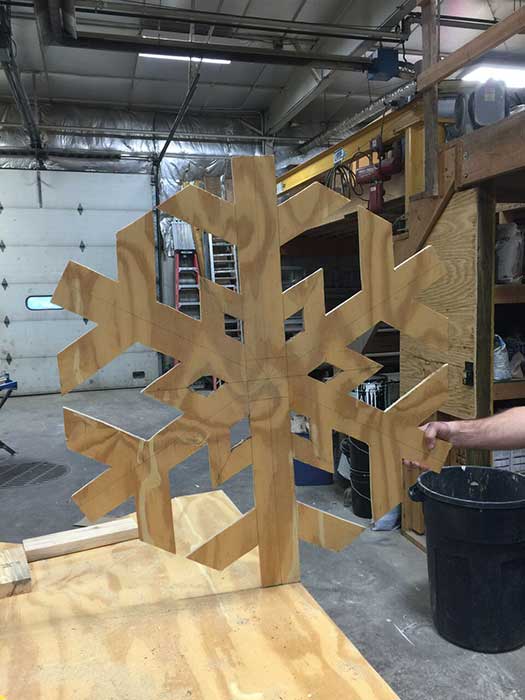
In case you are in need of a project (because this time of year isn’t busy enough) here’s a Pinterest inspired idea for you. Either for your yard or hanging on your walls, this cute snowflake is sure to get you in the winter spirit even if we don’t have any real snow. First, you should decide how many snowflakes you want to make and what size. We opted to make one giant and two little ones for our showroom. Using a 4×8 sheet of ½” plywood, we were able to cram the big one (42”) and four small ones (24”) onto 1 sheet. Next, gather your tools: A sheet of wood of your desired size, a jigsaw, a drill, drill bits, lights, paint, and a template to draw your pattern. We measured out a small section and repeated it around, like this:
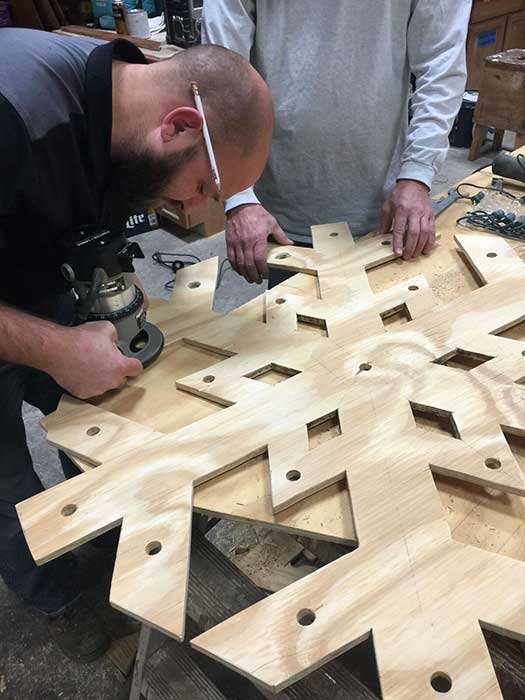
After you trace your pattern onto the wood, the fun begins. Actually, not really. This is the most tedious and stressful part. But don’t worry, even if your lines are a little wavy and funky, they are much less noticeable after it is painted. (It is also helpful if they are hung above cabinets and not at eye level!) If you are feeling like a perfectionist, you could always sand down the edges a bit if you make a mistake. Caution: The smaller your snowflake, the harder the center diamonds will be to cut out.
Once it’s all cut out, match a drill bit to the size of the base of the lights you are going to put in your snowflake. We used a string of large bulbs for the giant snowflake, which had 25 lights in total. Spreading the 25 lights out evenly resulted in a perfectly symmetrical pattern. You could also use smaller lights and add more holes if you want it to be really bright. Another option is to leave any excess bulbs to hang behind the snowflake, as is shown in our finished example.

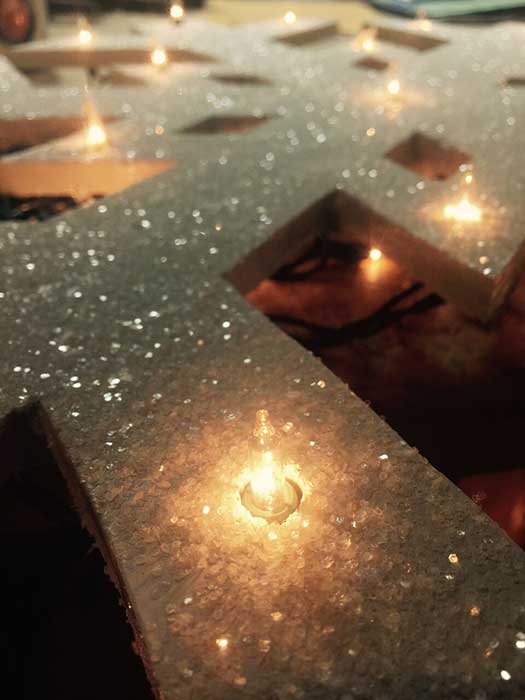
Next is the easy part; painting! We found spray paint to be a little lackluster so we ended up using a Kilz paint to make sure everything was covered. 2 coats ought to do it. You could always add glitter to give it a little extra sparkle at this point as well. Once the paint is dry, pop the lights in. For our big snowflake, we started with the male plug on the outside edge, weaving through that stem to the middle point and back all the way around. This leaves the female end in the center to be hidden by the biggest chunk of wood that’s left. A battery-operated pack is a great alternative if you are worried about finding an outlet. Use duct tape or a staple gun to secure your exposed wires to the back of the piece.

(Examples of our bulb choices: your standard strand on the small (left) and a C7 bulb on the large (right). Different sized LED bulbs could be used to give the snowflake a bluer hue.) This may not be the easiest project but it is so worth it! Since we made it from wood, it will last for years and it’s not technically Christmas themed so it can be left out all winter long. If you need some inspiration, stop by our showroom to see our finished masterpieces!
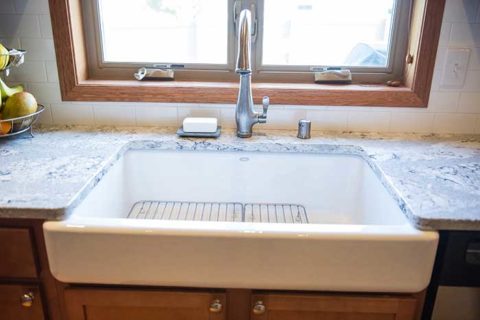
Let your true culinary arts show, and be the envy of all of your friends with the top looks in kitchen design. The images below are some top picks…

A point of relaxation and rejuvenation to escape to is essential in every home. You deserve a place to relax, collect your thoughts, and rewind for…